Cool Pics - part 2
Activity Instructions
This activity will have you continue the page built in part 1. We will use Javascript to make the menu button hide and show the menu on small screens. We will also use Javascript to create an image viewer when we click on the gallery images.
Estimated Time: 2 hours
01 Fix the menu
In Part 1 we added a button for the menu that currently does not work. We should fix that. On small screens it would be good to hide the menu items, and just show the menu button. The button should toggle open and closed the menu items. How can we accomplish this? Let's think through a list of steps we might follow.
- Hide menu items by default
- Add an event listener to the menu button to listen for a click event.
- When the button is clicked show the menu if it is hidden, hide the menu if it is shown.
The list did not end up very long! Try on your own to write the code to accomplish those steps. Review the code below after you are done (or if you get stuck)
Here are a few tips:
-
Remember to hide the menu items by default. I would recommend creating a class that looks like this:
.hide {
	display: none;
}
You can then add that to the list of links in the nav.
-
You can add and remove classes to an element using the
classListFor example if you had useddocument.querySelectorto grab the menu button you could do something like this:menuButton.classList.add('hide'). This would add a class calledhideto the element. We canadd,remove, andtoggleclasses. -
Remember that we can tell the browser we want it to care about an event using
addEventListener. It follows the form:element.addEventListener("event", handlerFunction)
Partial solution for hiding and showing menu
const menuButton = document.querySelector(".menu-button");
function toggleMenu() {
  const menu = document.querySelector(".menu");
  menu.classList.toggle("hide");
}

menuButton.addEventListener("click", toggleMenu);
02 Handle the window resize event
You should now be able to click on the Menu button and hide and show your menu when the screen is small. In part 1 we also added the CSS to make the Menu button disappear and the menu switch to horizontal when the screen is large. Depending on how you wrote your CSS you may end up with a problem if a user opens the webpage in a narrow browser window, then manually resizes to be big. Sometimes your menu might stay hidden. We can add some code to protect against this.
One of the events that we can watch for is a resize event. This event fires on the window. So another list!
- Write a function called
handleResizethat will check theinnerWidthof thewindowobject. If it is greater than 1000px (this is where we set our media query breakpoint!) then remove thehideclass from the menu, otherwise add it. - Add an event listener to
windowto watch for aresizeevent. Call thehandleResizefunction when a resize happens. - Call the
handleResizefunction immediately when the page loads as well.
As always make your attempt to solve this before looking at the solution. Also if you do use the code below re-type it into your code...do not copy/paste it. Make sure that you understand what is going on as well. You could ask in Teams, or run the code past an AI for an explanation.
Handling a window resize
function handleResize() {
  const menu = document.querySelector(".menu");
  if (window.innerWidth > 1000) {
    menu.classList.remove("hide");
  } else {
    menu.classList.add("hide");
  }
}

handleResize();
window.addEventListener("resize", handleResize);
03 Image viewer
We have one last feature to add. On a gallery site like this it is common to allow the user to click on an image to see a larger version. We could create a new html page, and link it to the image, or we could open the larger image in the same page in a modal...a element that opens over the other content. In this case we will do a modal. The dialog element is a semantic choice when building a modal. It provides built-in functionality for modals like keyboard interaction and backdrop styling.
The
<dialog>tag makes it easy to create a temporary popup dialog or modals on web pages. It usually appears on top of the main content and displays information or prompts user for information. JavaScript would be used to open and close the dialog.
Start by building the HTML and CSS for that modal.
We can add this modal (or dialog element) as we run JavaScript and put it onto our page with innerHTML only when the user clicks and image. If we do it this way, we will create an element in JavaScript called dialog and the html that will be inserted into that dialog will look like this <img><button class='close-viewer'>X</button>
All the attributes for the img will be added in JavaScript according to which image the user clicks on.
- We will style it for the small screen first. We will want the modal to fill the entire screen so in CSS you can set the dialog element to
width: 100%andheight: 100%. You can make the page show through the background of the dialog by setting the background color to be partially transparentbackground-color: rgba(0, 0, 0, .6)The black will be 60% opaque and 40% transparent. - It would be nice to center the image in the space. Try
margin: 0 auto;for that image. To bring it down a bit from the top edge you can try something likemargin: 20vh auto. You can also adjust the width to something like 90%. - To make the 'X' (or close button) stay to the upper right of the image. Target the
close-viewerand give it aposition: absoluteand have it come down the same amount of space as the image. For example:top:20vh. - If we let the image expand to the whole width of the screen we might end up with images that are too tall sometimes. Let's set the
max-heightof the image to 100%; - If you have issues with the viewer showing up behind other things...you can add a
z-index: 10; to fix it.
Notice that the example above is using
<button>instead of<span>. Why do you think this is? The X is going to trigger an action when it is clicked. That is exactly what buttons are for in HTML. We could have just made it a link, but a screen reader expects buttons to be used for actions, and links to be used for navigation. Buttons are also more semantic, and are easier to style.You can style your close button differently or leave it with the default look.
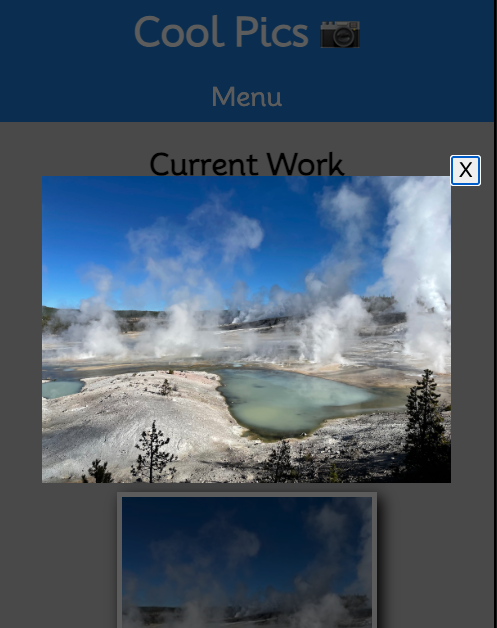
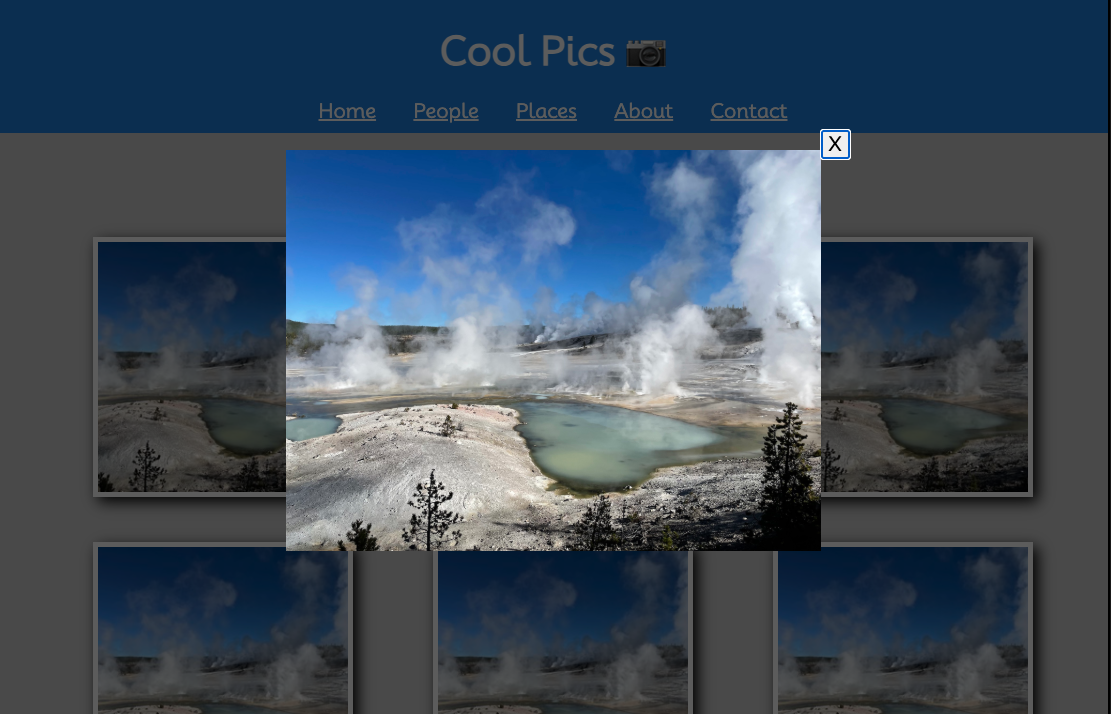
Once you are done styling the modal, it should look something like this (You won't have an image showing yet...we will do that soon.)
Small device:
Larger device:
04 Make it work!
The next step is to add the Javascript to make the modal show when an image in the gallery is clicked.
-
Dialog elements are hidden by default. So when the user clicks an image we will use the .showModal() method to show it in our JavaScript.
-
We will need to target all the elements that might be clicked or have attributes retrieved or added to them. The gallery, the modal, the modal image, and the close button. For example, to target the gallery I might use
const gallery = document.querySelector('.gallery'); -
Add a function that will handle the event of the entire image gallery pictures being clicked.
-
To find out the image that was clicked inside the gallery you can use the 'event' that is passed into the function as a parameter. The event parameter in a function is a build-in-object that is always automatically passed to event handler functions. It encapsulated information about the event like when or where the event occured. We can use event.target.closest('img') to discover which image was clicked.
-
This function will also get the src and alt attributes of that clicked image and use them to show the larger image of with a similar name. Remember our small image was norris-sm.jpeg and we will want to use norris-full.jpeg in the modal. So we use a .split('-') method on the name to split it at the '-' dash and concatenate the string 'full.jpeg' to replace 'sm.jpeg'. .split() takes the string 'norris-sm.jpeg' and makes it an array of two string values, 'norris' and 'sm-jpeg'. So to add just the first array object 'norris' we'd use something like this: src.split('-')[0] + '-full.jpeg'. The [0] says to use the first part of the array, the 'norris' and then we add on the '-full.jpeg' to it with the concatenation symbol '+'.
-
Also for this function, don't forget to add the modal to the screen with the .showModal();
-
-
Add a function that will handle the close button of the dialog being clicked. You use the .close() for example modal.close();
-
Add a function that will close the modal if the user clicks outside of the modal image. It will look like this:
modal.addEventListener('click', (event) => {
  if (event.target === modal) {
    modal.close();
  }
})
05 Commit and push to Github
Commit your changes, then push them to GitHub. Wait a few minutes then check to make sure they show on Github pages. If you need a review on how to do this check out github instructions. Start around step 3.
After verifying that your page updated, submit the URL to your page in Ilearn. The URL will look something like this: https://githubusername.github.io/wdd131/coolpics. Make sure to replace "githubusername" with your actual github username.